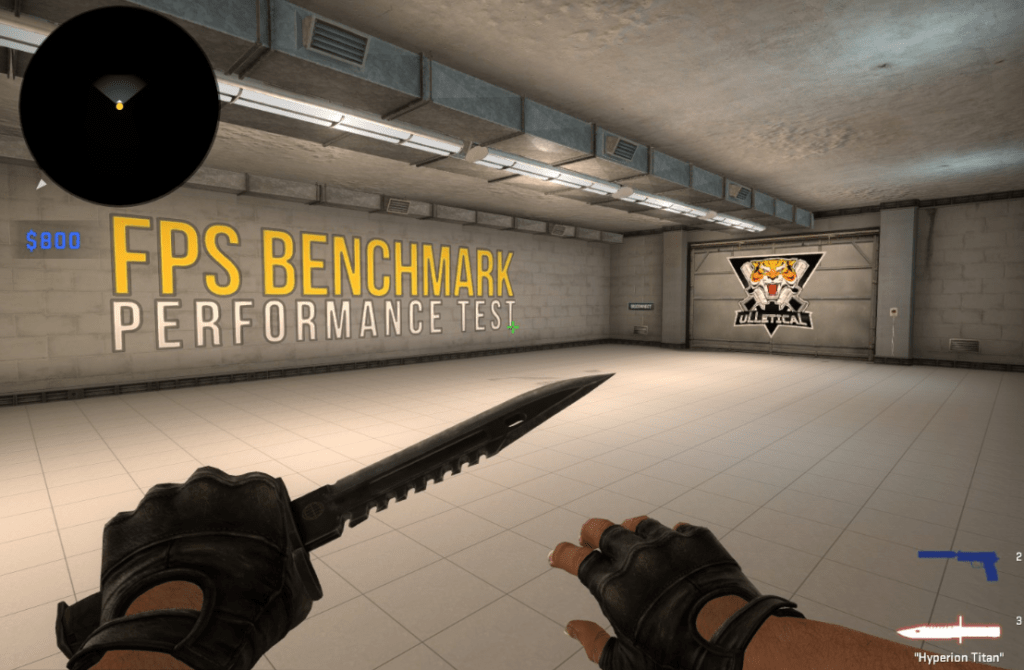
CSGO FPS
How to show FPS in CS2?
Waytosmurf site has dedicated an article to guide you that how can you view FPS in CS2.
- First, go to options.
- Then click on the game and go to the game tab.
- Then enable the developer’s console (~).
- After enabling console, press (~) and type “net_graph 1”
Now you can see a box with information indicating your FPS, Net packet loss, Game version, etc. This is how you can enable FPS Viewer / Indicator and this is how you can view your fps.
How to increase fps in CS2?
Steps Underneath will guide you on how you can maximize FPS in CS2.
- From the main menu go-to options.
- Then click on the video and go to the video tab.
- After going to the video tab. You Reduce or Disable the following options to maximize performance in CS2.
- The resolution, Shaders, Textures, Motion Blur, Multi-Core rendering, Uber shaders, Water detail.
- After Optimizing the following options by your needs, just apply the changes and you will have a noticeable effect on your FPS.
This method will help you in increasing or maximizing your FPS in CS2.
Note: These methods can be followed in the game as well but the following method is preferred to be applied in the main menu and not in-game because it will have less effect on your CPU, GPU, and RAM and will be applied faster.
Method 2: Power Options.
- Go to control panel.
- Then change large icons to small icons.
- Click on power options.
- Then Under Power saver plan click on show additional plans.
- Then Select High Performance Plan in the Power Options.
Method 3: Drivers Update.
- Go to the desktop and right click on the desktop.
- After right clicking on the desktop click on display settings.
- After going to display settings, click on advanced display settings.
- Then click on display adapter for properties for Display.
- Then a pop-up will open, there click on properties on the adaptor tab.
- Then go to the Driver tab and click on update driver, then click on search automatically for updated driver software.
- Then it will automatically search and update your GPU drivers.
Or you can manually update the drivers.
Nvidia Users: https://www.nvidia.com/Download/index.aspx
AMD Users: https://www.amd.com/en/support
Intel Users: https://downloadcenter.intel.com/product/80939/Graphics
Method 4: Clean Your Junk Files.
- Press Windows + R.
- Then Type %temp%
- Now a folder will pop open to your screen.
- Now Delete all the files in that folder, because they are the unnecessary files in your computer that slows your PC down.
- Then press the windows button and type Disk Cleanup.
- Now Select Local Disk (C:) and press OK.
- After it is done scanning, select all the options such as recycle bin, temporary files etc. which are useless for you.
- Then press OK and click on delete files.
- After that it will delete all the junk in your PC and Make it soother to use.
NOTE: Please Select Files or Folders Carefully While Using Disk Cleanup, You can End Up Deleting Some Useful Data.


Comments are closed.